
Wall planner
Create a plan
Plans belong to the institution, not to the exhibition. A wall in Saal 202 is the same wall whether the special exhibition hangs there or the next one does. That is why plans are created in the Plan library and then used in every project. Whatever an exhibition changes on a plan stays in that exhibition.
Plans and rooms require status 6. The menu entry Libraries › Plans is visible to accounts with status 9;
everyone else reaches the library at the address /plans.
Creating a room
-
In the plan library, open Manage rooms.
-
Click Add room and enter the Room name, for example “Saal 202”. Under Path, enter its location in the building, for example “Haupthaus/1. OG”.
-
Save.
Creating a wall
-
New plan.
-
Enter a Name, for example “Saal 202 Nordwand”. Set Type to Wall. Choose the Room.
-
Choose the Unit (mm, cm or m), then enter the Width and Height of the wall. Below the field the value is shown in millimetres so you can check it.
-
If you have one, upload a view of the wall under Background: SVG, PDF or an image at real scale.
-
Create. The plan opens straight away in the editor.
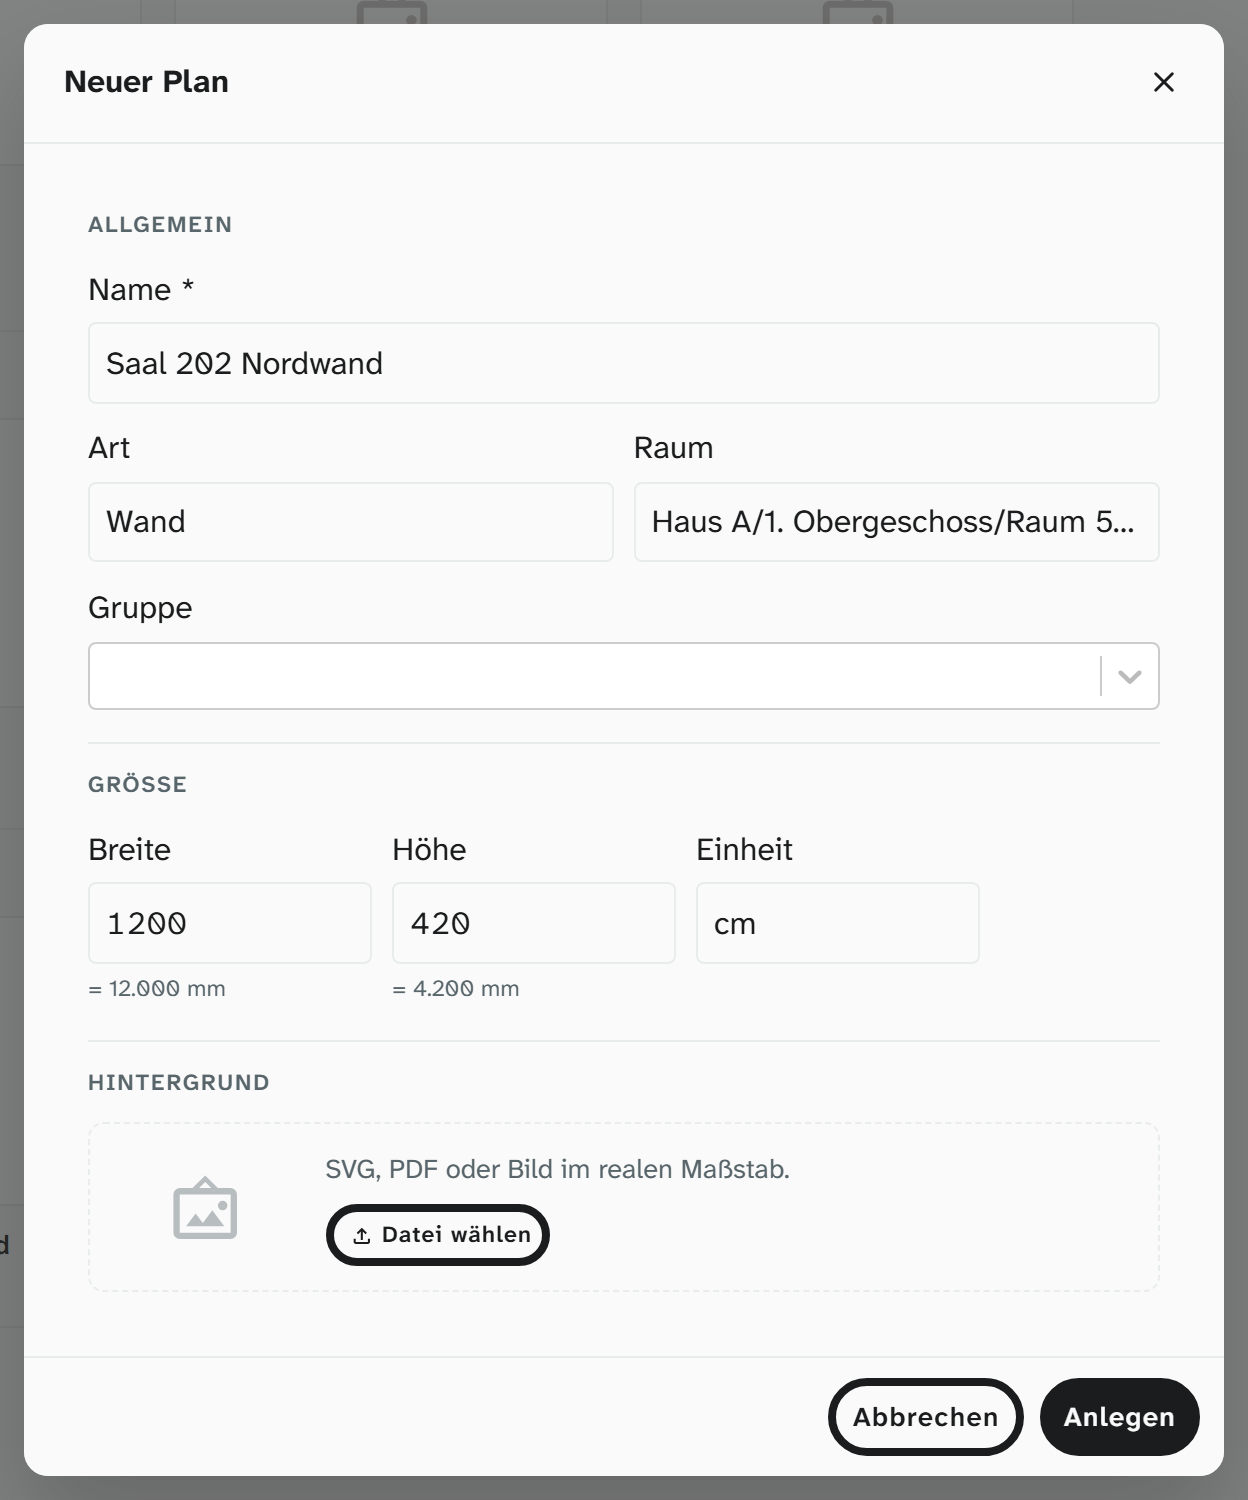
Create all the walls of the room this way. The name should identify the wall unambiguously within the building, because that is what people search for in the project.
Anything you need to change after creating the plan is in the editor, on the right on the Plan tab: name, type, room, group, size and background. Every change there is saved right away and can be taken back with Undo. From the library, Plan settings in the ⋮ menu of a card leads straight there.
Chaining walls into a room
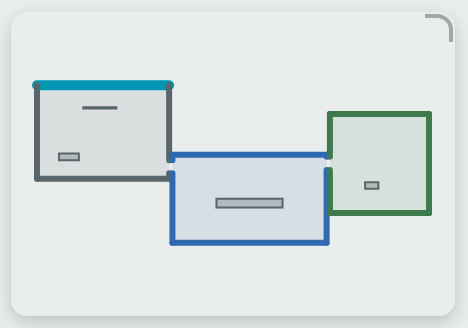
Separate walls only become a room once they are chained. The minimap, the unrolled elevation in the PDF and the 3D walkthrough all need the chain.
-
Open the first wall in the plan library.
-
On the stage, click the + (Chain a wall) at the right edge of the wall.
-
Under Wall, choose the neighbouring wall, or create a new one straight away with Create new wall…. Only change the Angle (°) if the corner is not a right angle. Save.
-
The neighbouring wall appears faintly at the edge. Clicking it opens it; do the same there with the next wall until the room is closed.
Clicking the angle of a chained side opens Edit chain, which also offers Unchain. On the Plan tab, the Chain section shows which walls the wall is chained to.
Fitting the background
If the uploaded background shows more than the wall, or the wall was photographed at an angle:
-
In the editor, on the right on the Plan tab, in the Background section, choose Fit background…. Fitting opens on the stage; a line above it tells you what to do next.
-
2 points (scale): click on the background where the wall begins at the top left and ends at the bottom right. For a photo taken at an angle, use 4 points (perspective): click the four corners in the order top left, top right, bottom right, bottom left.
-
Drag the points if needed, then Apply. The Plan tab is shown again.
Cancel or Esc discards the fitting. For wallpaper or a wall fabric there is Tile with a Tile width.
Display case, partition wall, floor plan
You create these in the same way with New plan, only with a different Type. A display case and a partition wall also need the Depth; a round display case needs only its diameter, entered as the width. How they stand in the room is shown in Floor plan with display cases and partition walls .
A plan for one project only
A wall that is built for a single exhibition does not belong in the institution’s library.
-
In the project, open the Wall planner view.
-
In the plan overview, click New project plan. The dialog is the same; after Create the plan opens in the editor.
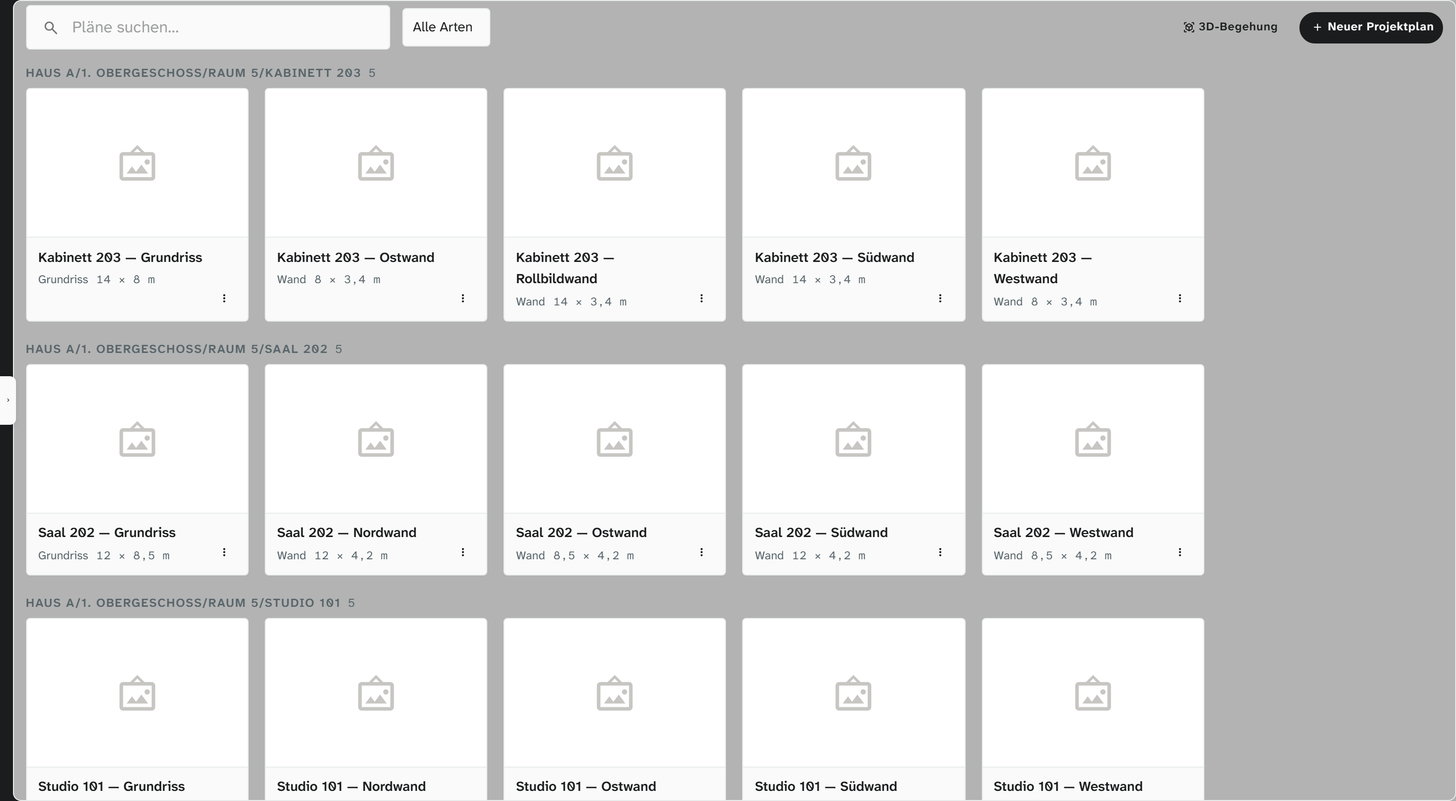
The plan exists only in this project and is fully editable there. Write access to the project is enough for this.
Removing a plan
In the plan library, choose Delete in the ⋮ menu of the card, or in the editor, on the Plan tab, choose Delete plan at the very bottom. If objects are still on the plan, it is archived instead of deleted.
If you only need a plan to be out of the way for a while, switch off Active on the Plan tab. The plan library shows archived plans with Show archived; clicking a card opens its plan settings, where Active brings it back.
Further reading
- Hang objects
- Wall planner : plan settings, base and project